Quick answer
Why hair fibers look fake in sunlight often comes down to shade mismatch, clumps, scalp deposits, or a hard hairline edge. Fibers need existing hairs to hold them, so adding more over a nearly bare area often creates visible product rather than believable coverage. Use a small amount on dry, styled hair, match it beside a window, then check it outdoors before adding more.
Sunlight is a useful stress test. It doesn’t mean the product has failed in every setting.
Why sunlight exposes hair fibers
Hair doesn’t reflect light like a flat block of color. Each strand creates highlights and shadows, while pigment changes how bright those reflections look. Laboratory studies of human hair show that color, oils, styling resins, sebum, and surface condition can all change visible luster.
Those studies didn’t test cosmetic fibers in the sun. They do explain why a treated patch can look different when the light becomes stronger and more directional. Direct sun creates bright reflections on strands and deep contrast at any visible scalp gaps.
Hair fibers work by attaching small colored particles to hairs that are already present. Dermatology reviews describe this as temporary camouflage, not added growth. The effect is strongest where enough hair remains to hold and distribute the fibers.
That limit matters. More product can’t replace missing anchor hairs.
The five most likely causes
The shade only matches indoors
Indoor bulbs can mute small color differences. Sunlight may reveal that black fibers look flatter than dark-brown roots, or that brown fibers pull warmer than your hair.
Compare the fibers with the hair close to your scalp, not sun-faded ends. Check beside a window first, since direct glare can make every surface look harsher. If the color still shifts outdoors, test the next shade rather than covering the mismatch with more product.
There’s no reliable rule that everyone should choose darker. A match made under the light where you spend time is more useful than the color name on the jar.
Too much product is sitting on the scalp
Topical fibers need existing hair. A Women’s Dermatologic Society review recommends low-density application with an applicator and notes that fibers are not suited to extensive hair loss.
Aim to reduce the contrast between hair and scalp, not erase every glimpse of skin. Natural parts and crowns show some scalp in strong light. If the area becomes a solid patch, remove the product and restart with less.
Damp hair or styling product is causing clumps
Creams and gels can disrupt fibers and make them clump. The same review advises applying fibers after other styling products or scalp medication. Your hair and any leave-on product should be dry according to its label before the fibers go on.
Don’t skip or change a prescribed hair-loss treatment to improve the finish. Keep the treatment on its medical schedule, then fit cosmetic camouflage around it.
The hairline has become too sharp
A dense line of pigment at the forehead looks different from fine hairs emerging from skin. Sunlight makes that edge easier to see.
Keep most fibers behind the first row of hair. Use less at the front than at the crown, and remove any particles that land on bare forehead skin. If the hairline still needs a painted border to look full, fibers may be the wrong tool for that area.
Hold spray is changing the finish
Setting spray may improve wear, but extra spray is not invisible. Research on hair optics found that several styling resins increased gloss by changing the balance of reflected light.
Follow the fiber product’s directions and start with the smallest suggested amount. Let it dry, then repeat the outdoor check. A stiff or shiny patch usually needs less product, not another coat.
A five-minute daylight test
Use this test before work, an event, or a new product purchase. You don’t need to upload a photo or run an appearance score.
- Start with fully dry hair, styled as you normally wear it.
- Apply one light pass of fibers to a small section. Keep them on hairs rather than bare scalp.
- Stand beside a window and compare the section with nearby roots. Check color, texture, and the edge of the application.
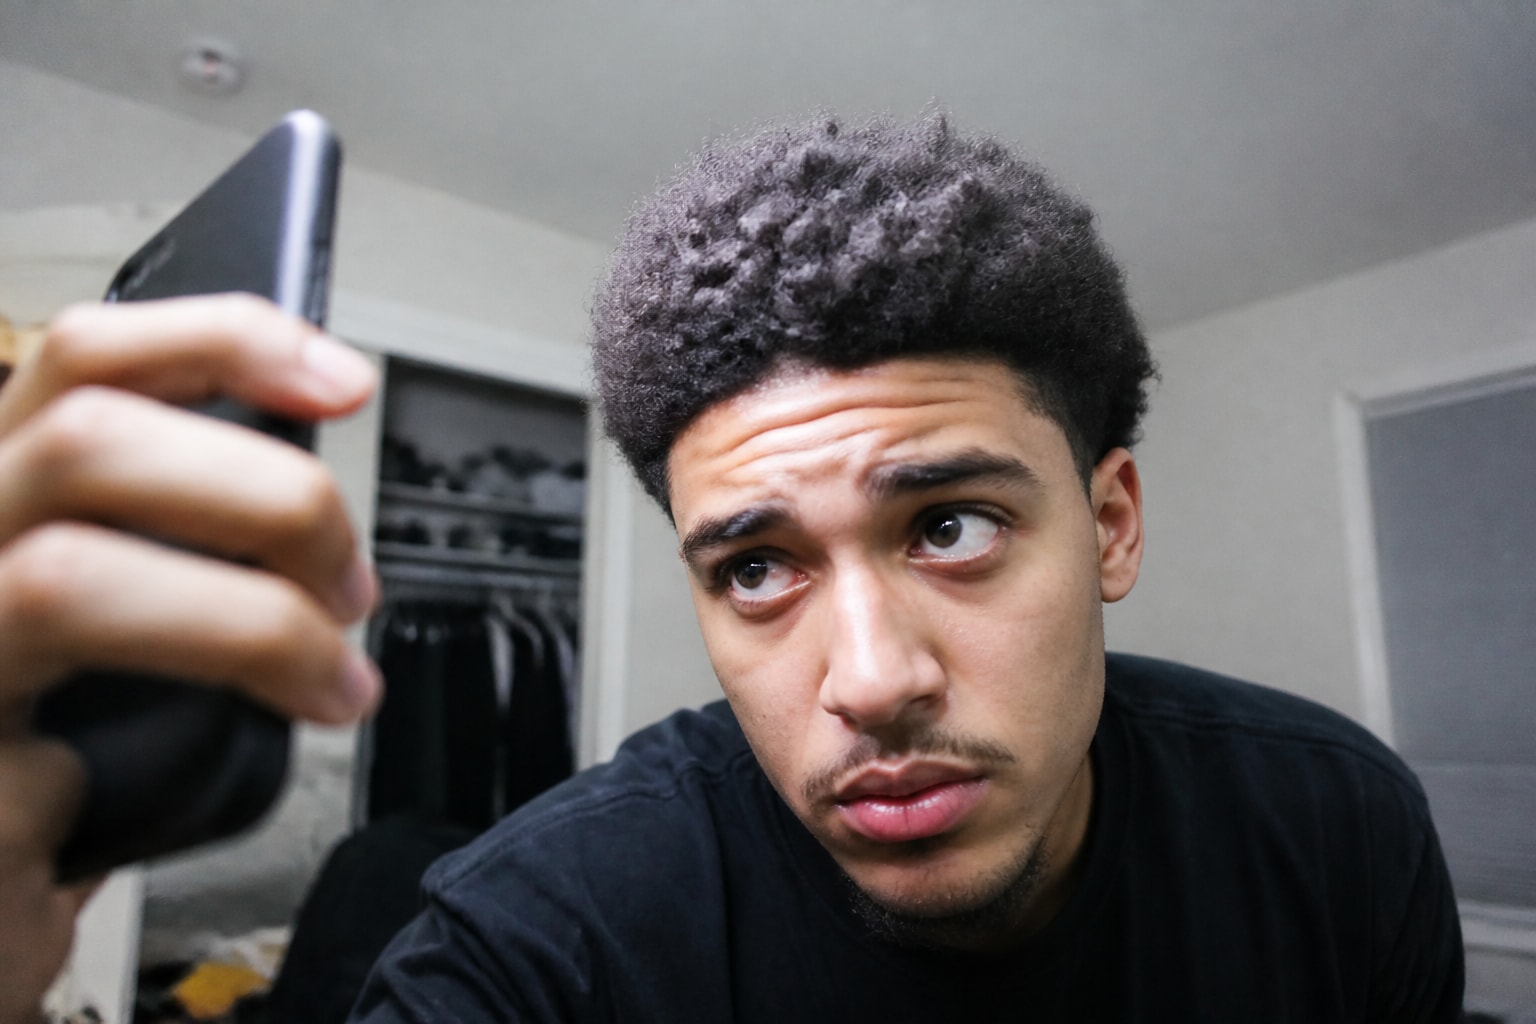
- Step outside with a hand mirror, or record a short rear-camera video on your phone. Turn your head so the light reaches the area from the front, side, and back.
- Change one variable at a time. Test less product before changing shade, then test a new shade before changing your whole styling routine.
Keep the first photo on your device as a reference if that helps. Use the same place, camera, hairstyle, and time of day for the next test. Otherwise, a lighting change can look like a product change.
Match what you see to the fix
- A gray, red, or flat-looking patch points to a shade mismatch. Compare an adjacent shade on a separate day.
- Dark dots or a solid area on the scalp point to overapplication. Wash it out and use a lighter pass on existing hairs.
- Ropy strands point to moisture, oil, gel, or cream joining fibers together. Let the base products dry, then apply fibers last.
- A straight, dark front edge means the hairline application is too dense. Move it back and leave the finest front hairs visible.
- Coverage that disappears from one viewing angle may mean there are too few hairs to support fibers in that spot. Adding more can make the texture easier to detect.
- A glossy or crusty finish points to too much setting product. Reduce it within the label directions.
Judge the result from normal conversation distance as well as close up. A phone held a few centimeters from your scalp is a quality-control tool, not a normal social view.
What hair fibers can and cannot do
Hair fibers can make thinning hair look fuller for a short time. In one 90-day study, 40 adults with hair loss used a color-matched keratin fiber. Most reported good color match and coverage, and no serious adverse effects were reported.
That study was small, short, and based on one commercial product. It didn’t compare finishes in sunlight. It can’t prove that every formula suits every scalp.
Wash the product out and stop using it if you develop persistent itching, redness, scaling, or spots. A dermatologist can check whether the issue is irritation, another scalp condition, or the hair loss itself.
Fibers also don’t treat the cause of thinning. The British Association of Dermatologists lists pigmented fibers as camouflage and notes that they wash away with brushing, shampoo, rain, swimming, or perspiration. If your part is widening or your coverage needs keep rising, take product-free photos under fixed conditions and seek a qualified assessment.
Don’t treat fibers as sun protection. Hair helps shield the scalp, but exposed areas can still burn. Use a hat or suitable sun protection on bare scalp, following the product directions.
FAQ
Do hair fibers look fake in all outdoor light?
No. Direct sun is more revealing than soft indoor light, but the result depends on shade, density, available hair, and application. Test from several angles outdoors instead of judging one harsh close-up.
Should hair fibers be lighter or darker than my hair?
Neither by default. Match the hair near your roots in daylight and test adjacent shades if the first one shifts warm, cool, gray, or flat. Color labels aren’t consistent enough to replace a real comparison.
Can I use hair fibers on a bald spot?
Fibers need existing hairs for attachment, so they work poorly on a smooth or nearly bare area. Heavy application on skin may look like powder in direct light. A dermatologist or experienced hair professional can discuss other camouflage choices without pretending they regrow hair.
Does setting spray make hair fibers look more natural?
It can improve hold, but too much may add gloss, stiffness, or clumping. Use the amount in the product directions, let it dry, and repeat the daylight test before adding another layer.